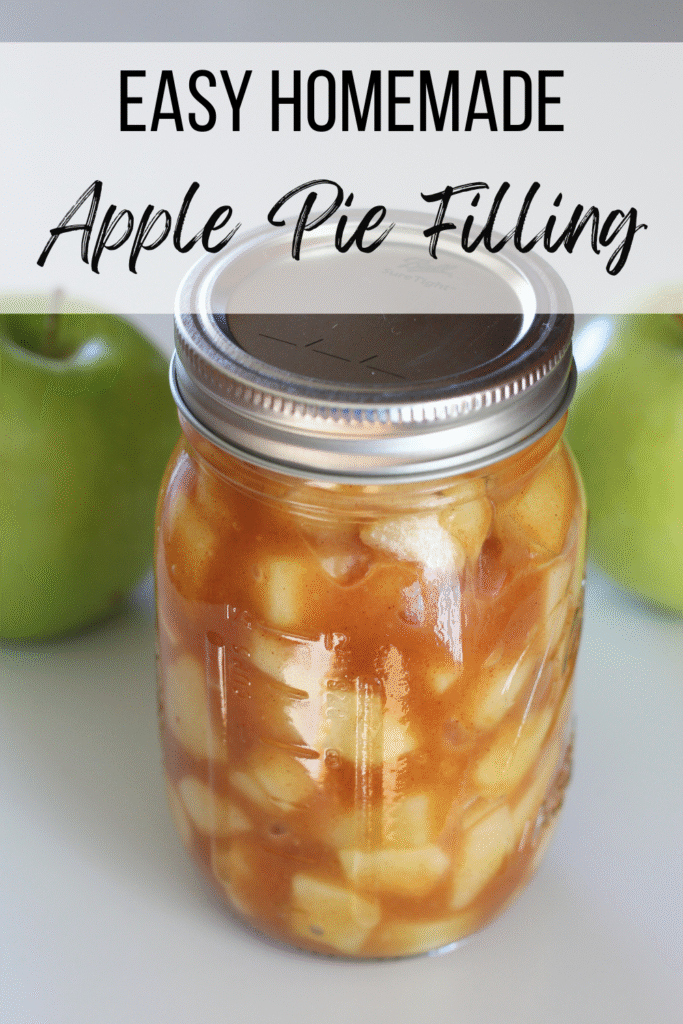
This quick and easy homemade apple pie filling recipe delivers warm spices, tender apples, and perfect texture every time.

For me, the smell of cinnamon-spiced apples bubbling in a flaky pie crust marks the official start of the fall season. And when it’s made with homemade apple pie filling, apple pie always tastes fresher and richer than with any canned apple pie from the grocery store.
This apple pie filling recipe is simple, quick, and filled with warm spices perfect for the fall season and cozy baking days. With fresh apples and a few pantry staples, you can create the best apple pie filling in about 20 minutes. Serve it inside a homemade pie crust, layered over pancakes, in a bowl topped with homemade whipped cream, or spooned warm over vanilla ice cream.
Ingredients for the Best Apple Pie Filling
- 2 tablespoons butter
- 4-5 apples*, peeled and chopped (about 4 cups)
- 1/3 cup sugar
- 1 teaspoon ground cinnamon
- 1/4 teaspoon ground cloves
- 1/4 teaspoon salt
- 5 tablespoons water, divided
- 4 teaspoons corn starch
Optional extras:
- 1 tablespoon lemon juice – brightens the apple flavor and prevents mushy apples from browning.
- Substitute 1 1/4 teaspoon apple pie spice for the cinnamon and cloves – adds a lovely blend of warm spices if you like extra depth.
- Splash of apple cider in lieu of water – boosts the apple flavor and gives it a little twist.
*Note: Use Granny Smith apples, Pink Lady, or Golden Delicious for a sweet-tart balance.
These simple pantry staples create a homemade apple pie filling that rivals any professional bakery.
Step-by-Step Directions
Follow these easy instructions for the perfect apple filling every time.
- Melt butter in a large skillet over medium heat.
- In a large bowl mix together the chopped apples, 3 tablespoons water, and the sugar, cinnamon, cloves, and salt. Stir well to coat the apples evenly.
- Cook the apple mixture in the melted butter over medium-high heat for 5–7 minutes until the apples begin to soften but remain slightly firm. Stir occasionally for even cooking.
- In a small bowl, mix 2 tablespoons of the water with the cornstarch until smooth. This cornstarch slurry prevents clumps and ensures a thick, smooth apple filling.
- Pour the cornstarch slurry into the apples in the skillet and stir constantly over medium heat until the mixture thickens and becomes glossy, just a few minutes.
- Remove from heat once the apples are tender and coated in a thick, golden brown sauce.
- Let the filling cool to room temperature before using in a pie dish or storing.
This full recipe yields enough apple filling for one 9-inch pie dish.
Choosing the Best Apples
Selecting good apples makes or breaks the perfect apple pie.
- Granny Smith apples: These tart flavor apples are classic for the best apple pie filling.
- Pink Lady apples: Sweet-tart apples that hold their shape beautifully while baking.
- Golden Delicious apples: Mellow sweetness and juicy apples create a well-balanced homemade apple pie filling.
- Honeycrisp apples: Crisp and juicy apples with a strong apple flavor and perfect texture.
Using different apples creates a complex, sweet-tart flavor and ensures no mushy apples. Fresh apples from apple picking trips or grocery store apples both work. Always wash and dry apples before peeling and chopping to remove wax or dirt.
Storage Tips
Homemade apple pie filling stores beautifully for personal consumption or gifting.
- Refrigerator: Store cooled apple filling in an airtight container for up to five days. Let the filling come to room temperature before placing it in the fridge.
- Freezing: For longer storage, freeze the apple filling in airtight containers or freezer bags, being sure to squeeze out all the air before sealing. Label with the date and use within three months for the best flavor. Thaw overnight in the refrigerator and give a gentle stir before using.
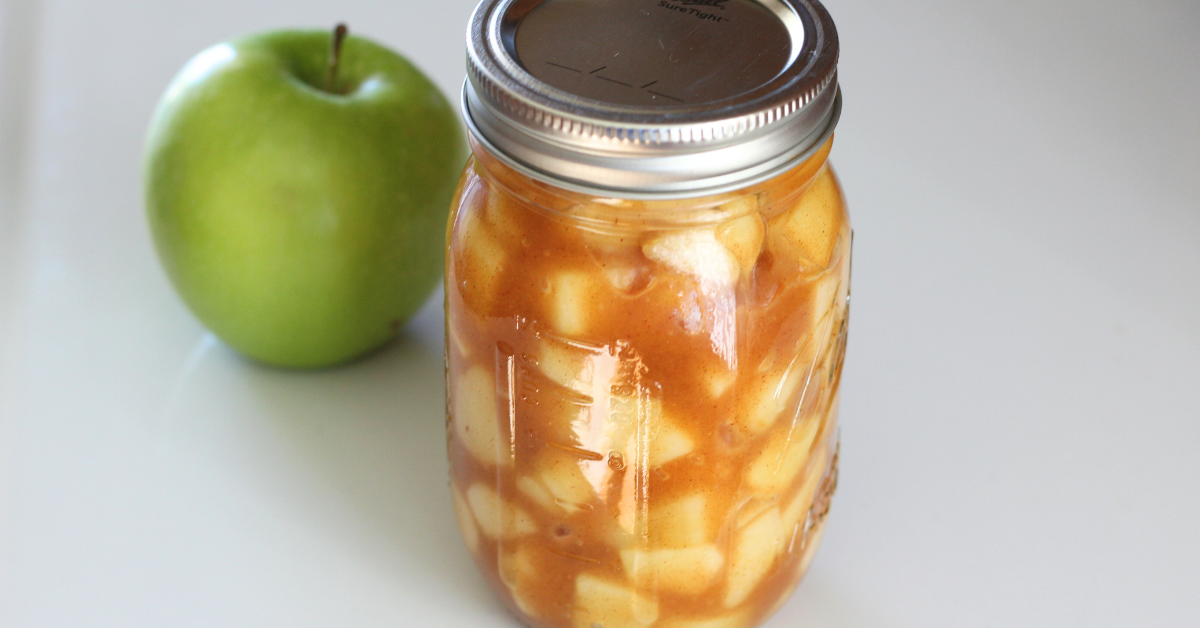
- Canning: For a canned version, use a pressure canner and follow safe canning guidelines. Sterilize mason jars, fill with hot apple filling, and process at the correct pressure for your altitude. Proper canning extends shelf life for a year or more.
These methods ensure your apple filling stays fresh through the entire pie season.
Creative Serving Ideas
Homemade apple pie filling is versatile and delicious in many apple recipes.
- Fill apple hand pies for single-serve treats.
- Spoon warm apple filling over homemade vanilla ice cream for a quick apple dessert.
- Layer inside puff pastry for elegant turnovers.
- Swirl into oatmeal or yogurt for a cozy fall breakfast.
- Use as a topping for pancakes, waffles, or cheesecake.
This apple dessert recipe is a must-have during fall season gatherings.
FAQs
- Can I use different varieties of apples? Yes. Combining different apples creates complex flavor and ensures perfect texture. Granny Smith and Pink Lady are excellent choices.
- Do I need lemon juice? Lemon juice prevents browning and adds a bright tart flavor. It’s optional but highly recommended for best apple flavor.
- What if my apples turn mushy? Use firm apple varieties and cook only until slightly softened. Overcooking causes mushy apples.
- How long does homemade apple pie filling last? In an airtight container, it lasts five days in the fridge or up to three months frozen. Longer if canning for pantry storage.
- How do I reheat frozen apple filling? Thaw overnight in the fridge, then warm gently on medium heat, stirring for even texture.
- Can I double this recipe for two pies? Absolutely. Simply double the ingredients and follow the same cooking directions for a full recipe. I also like to double the batch for a big pan of homemade apple crisp.
This quick and easy homemade apple pie filling is the perfect way to enjoy extra apples from apple picking season. Whether you use Granny Smith apples, Pink Lady, or Golden Delicious, you’ll achieve the best apple flavor and perfect texture. Enjoy this delicious recipe inside a flaky pie crust or spooned warm over vanilla ice cream.
With easy storage options—freezing, canning, or refrigerating—you can always have the right amount of filling at the right time. This is the ultimate apple dessert to celebrate the fall season and create unforgettable homemade pies.
Pin It For Later!
Quick and Easy Homemade Apple Pie Filling Recipe
Ingredients
Method
- Melt butter in a large skillet over medium heat.
- In a large bowl mix together the chopped apples, 3 tablespoons water, and the sugar, cinnamon, cloves, and salt. Stir well to coat the apples evenly.
- Cook the apple mixture in the melted butter over medium-high heat for 5–7 minutes until the apples begin to soften but remain slightly firm. Stir occasionally for even cooking.
- In a small bowl, mix 2 tablespoons of the water with the cornstarch until smooth. This cornstarch slurry prevents clumps and ensures a thick, smooth apple filling.
- Pour the cornstarch slurry into the apples in the skillet and stir constantly over medium heat until the mixture thickens and becomes glossy, just a few minutes.
- Remove from heat once the apples are tender and coated in a thick, golden brown sauce.
- Let the filling cool to room temperature before using in a pie dish or storing.
Leave a Reply